Visual Studio 2017 に Installer Projects をインストールしてインストーラーを作成してみる
おはようございます。
先週は天気が悪くなかなか洗濯ができませんでしたが
やっと今日は洗濯物が干せそうですね。
今回は、Visual Studio 2017でインストーラを作成してみます。
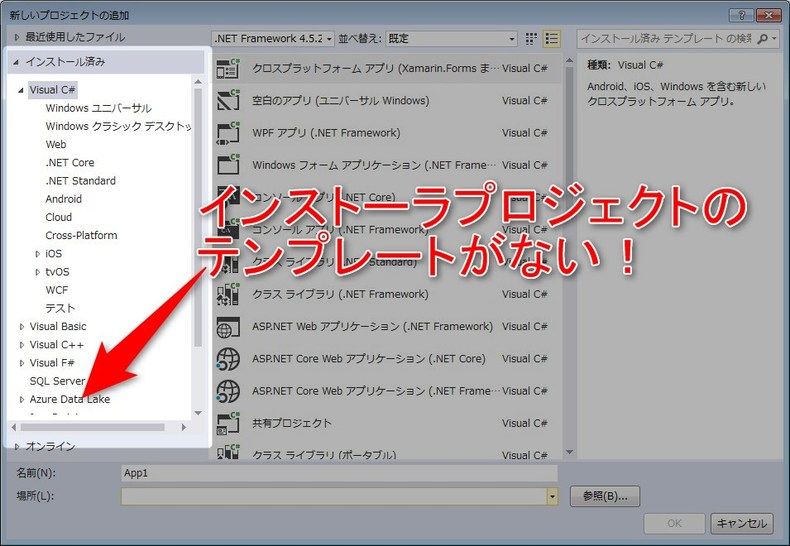
Visual Studio 2017 では、デフォルトでインストーラプロジェクトのテンプレートが表示されないため、
別途ダウンロードとインストールが必要となります。
スポンサーリンク
ダウンロード
次のページからダウンロードします。
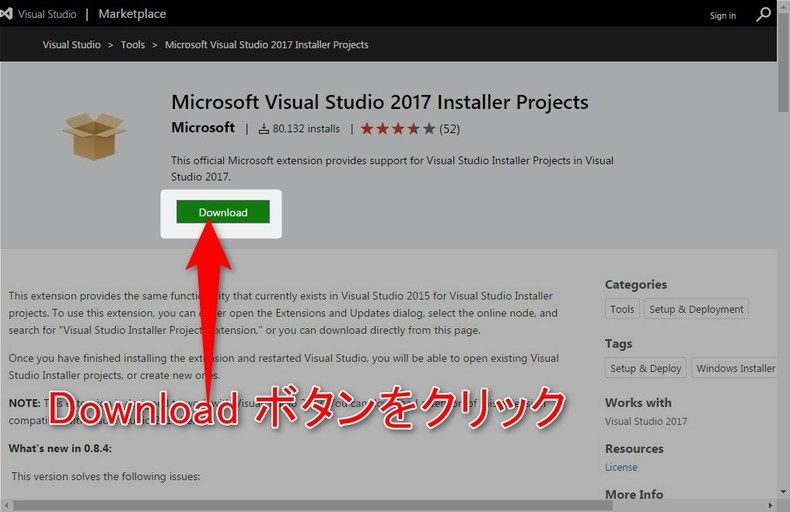
ダウンロードボタンをクリックします。
インストール
ダウンロードした exe ファイルを実行します。
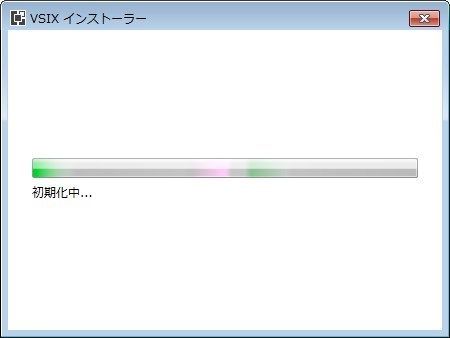
インストーラが起動されます。
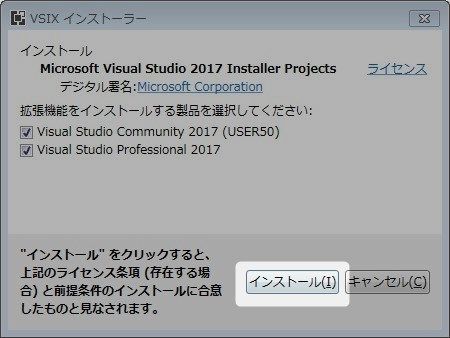
製品選択画面が表示されるので、「インストール」ボタンをクリックします。
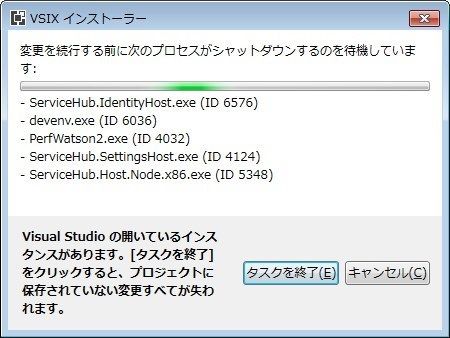
関係するソフトウェアを起動している場合は、
タスクが終了されるまでインストールが進みません。
しばしお待ちを。

インストール中。しばしおまちを。
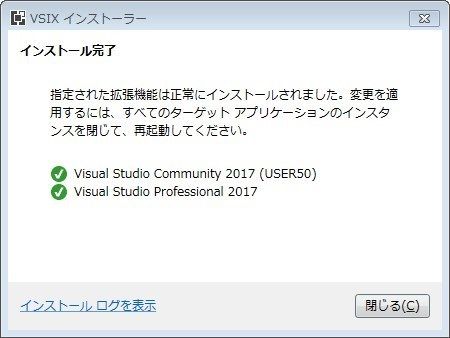
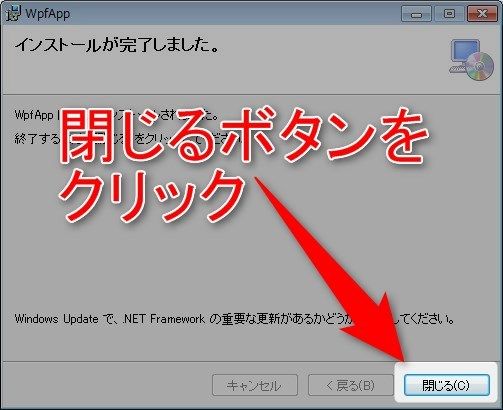
インストール完了画面が表示されたら完了です。
「閉じる」ボタンをクリックします。
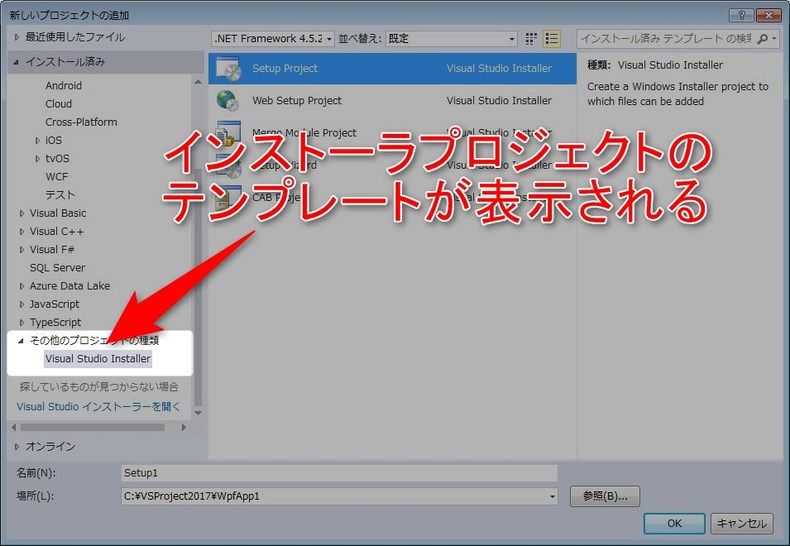
無事にインストーラプロジェクトテンプレートが表示されました。
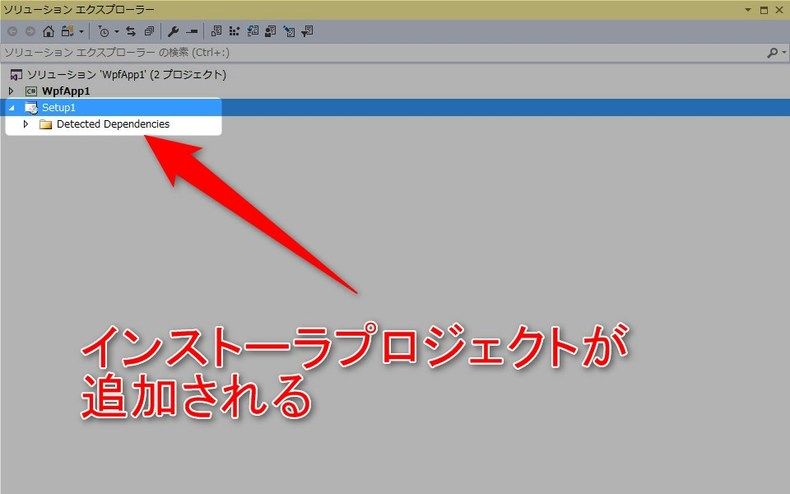
インストーラプロジェクトの作成
ソリューションエクスプローラからプロジェクトの追加を選択し、
先ほどのインストーラプロジェクトテンプレートから
「セットアッププロジェクト」を作成します。
セットアッププロジェクトの設定など
インストーラを作成するための設定などをしていきます。
プロジェクトの出力
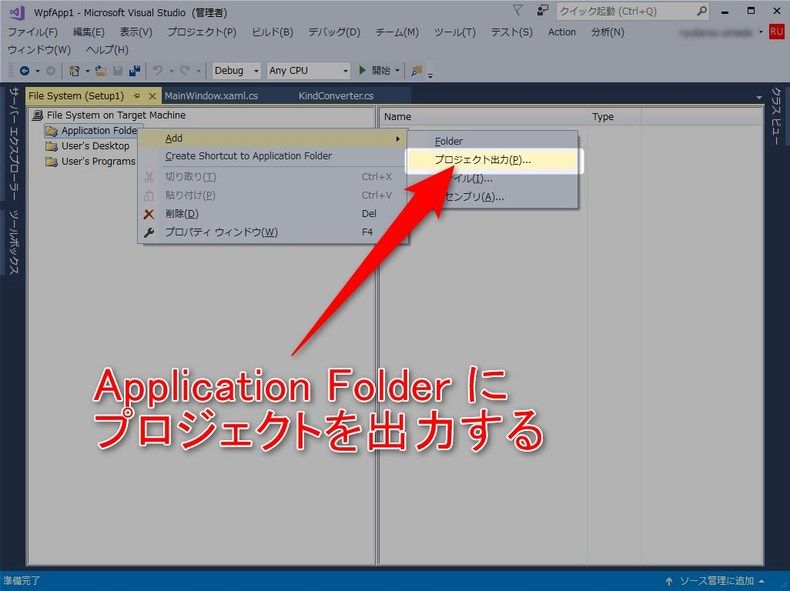
Application Folder を右クリックして「Add」>「プロジェクトの出力」を選択します。
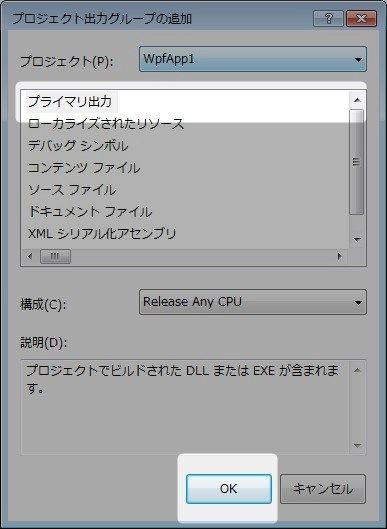
「プライマリ出力」を選択、構成を「Release Any CPU」にして
「OK」ボタンをクリックします。
SQLiteデータベースファイルの追加
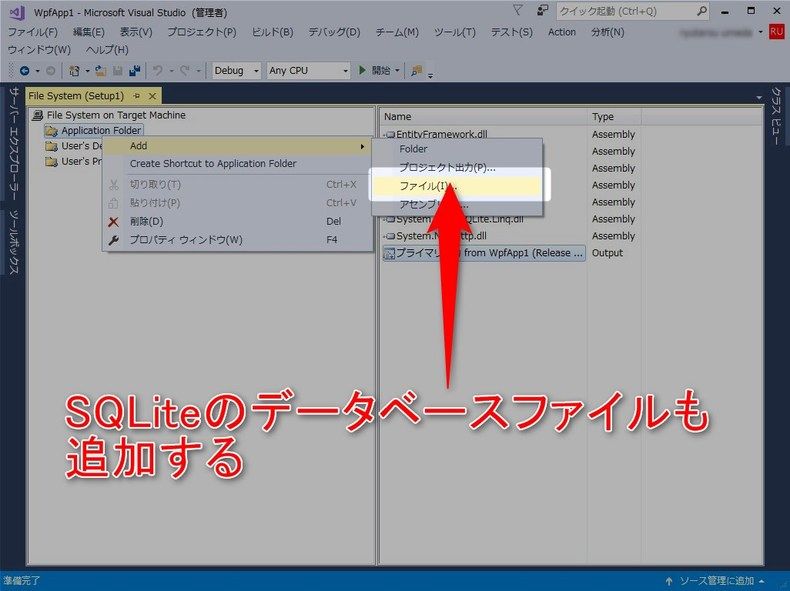
同じく「Application Folder」>「Add」>「ファイル」を選択します。
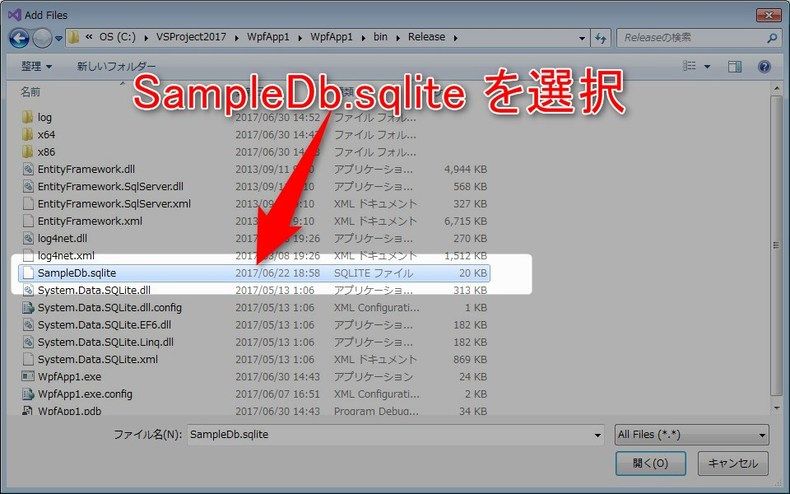
リリースディレクトリにある「SampleDB.sqlite」を選択、「開く」ボタンをクリックします。
SQLite用DLLの追加
32bit、64bit のどちらでも動作させるために、
SQLite.Interop.dll を追加します。
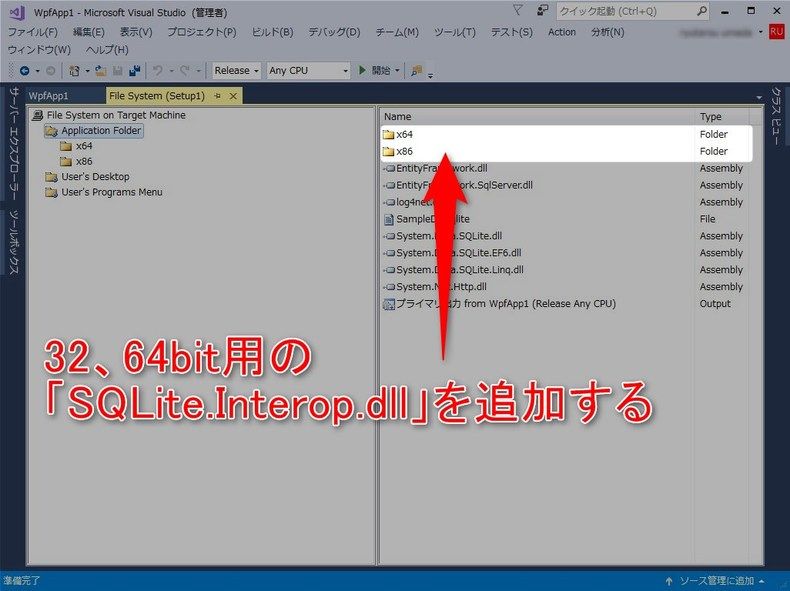
先ほどまでと同様に「Application Folder」に「x86」、「x64」フォルダを追加し、
それぞれの DLL を追加します。
プログラムメニューの作成
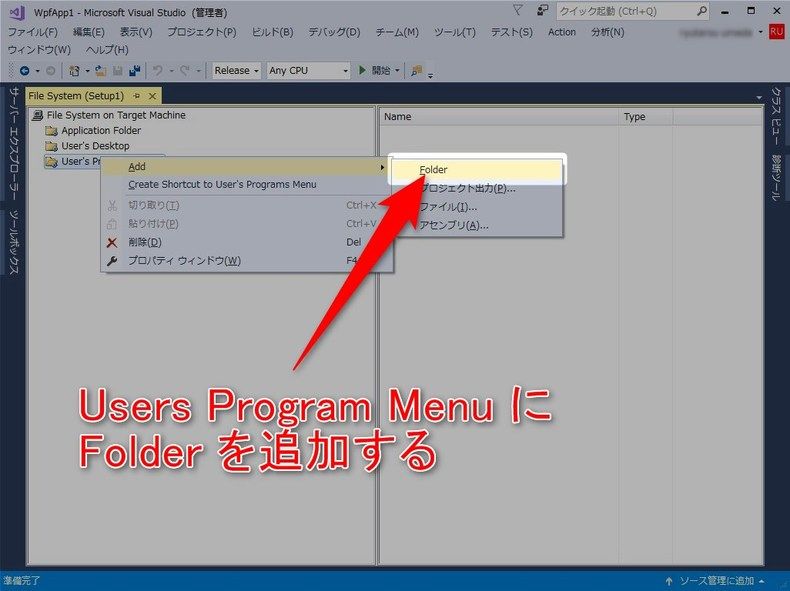
「Users Programu Menu」>「Add」>「Folder」を選択してフォルダを作成します。
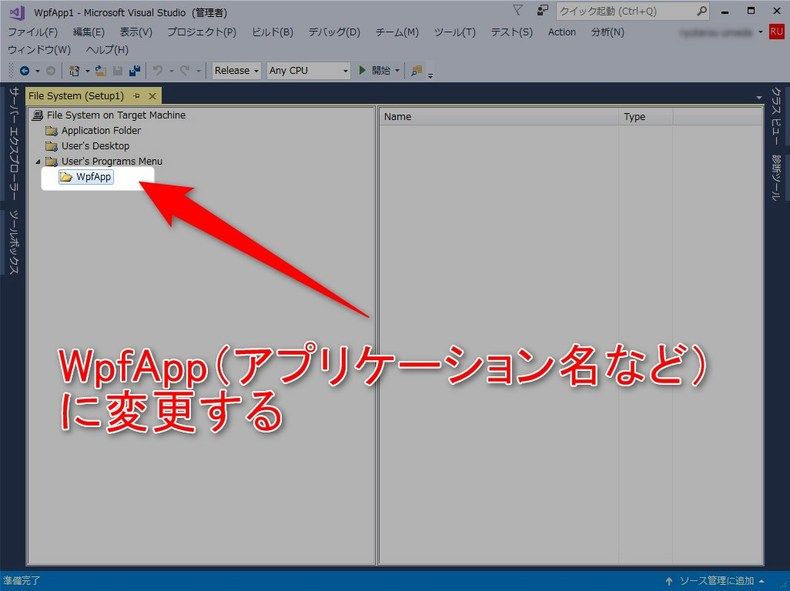
フォルダ名を、アプリケーションの名前などに変更します。
アプリケーションのショートカットを作成する
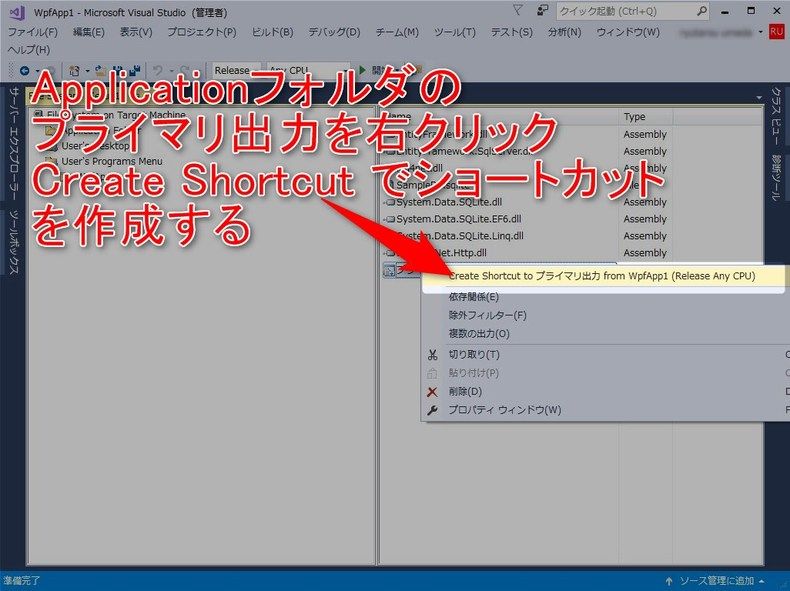
「Application Folder」に表示されている「プライマリ出力」を右クリック
「Create Shortcut to プライマリ出力…」を選択します。
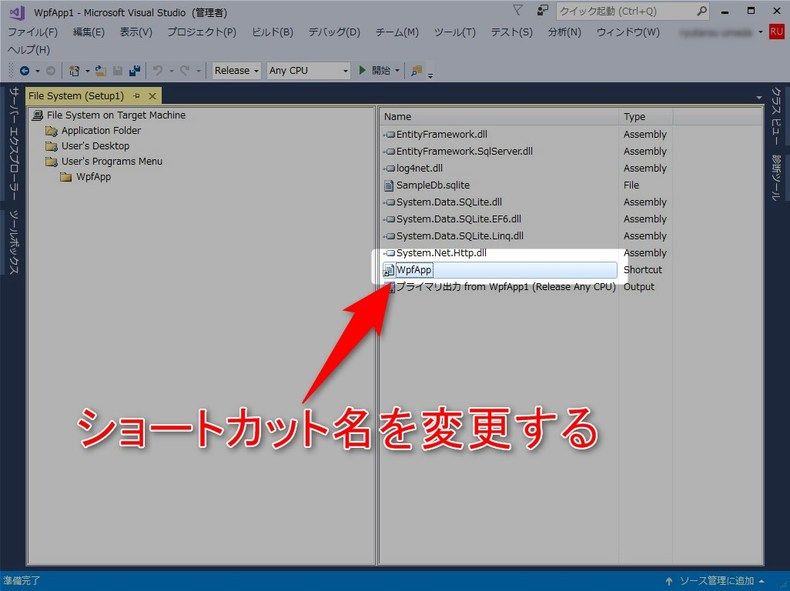
作成したショートカットの名前を変更します。
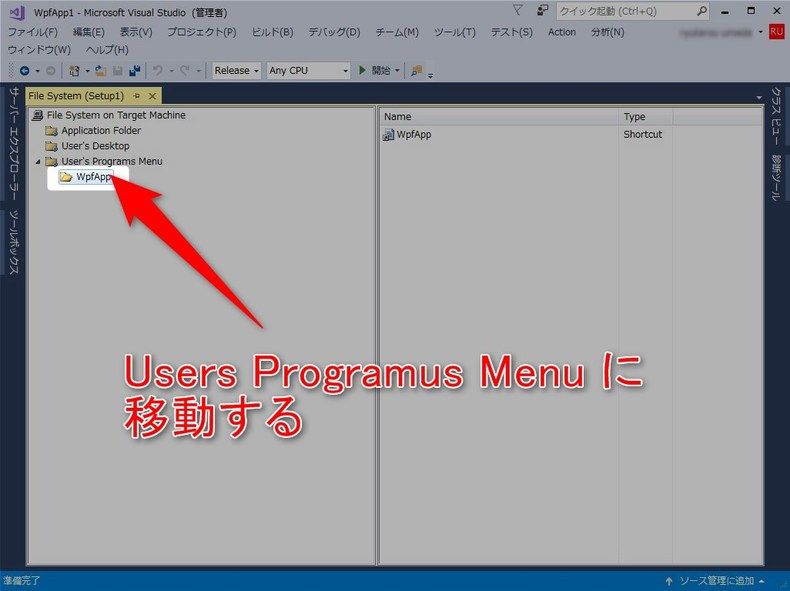
作成したショートカットを「Users Programs Menu」に移動します。
プロダクト名の変更
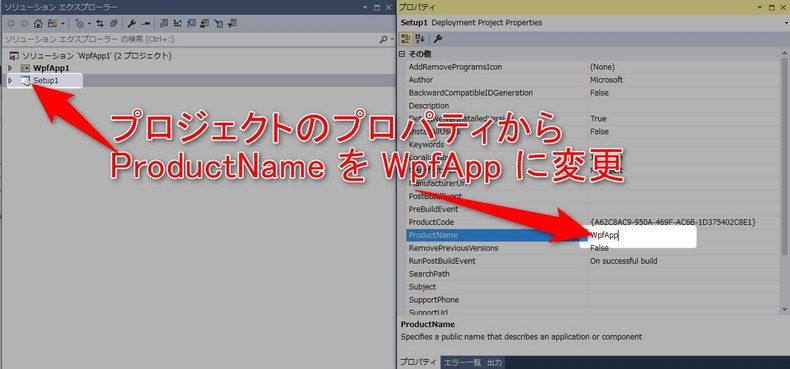
インストーラ時に表示されるプロダクト名を、アプリケーションの名前に変更します。
ひとまず設定はここまでで完了です。
プロジェクトのビルド
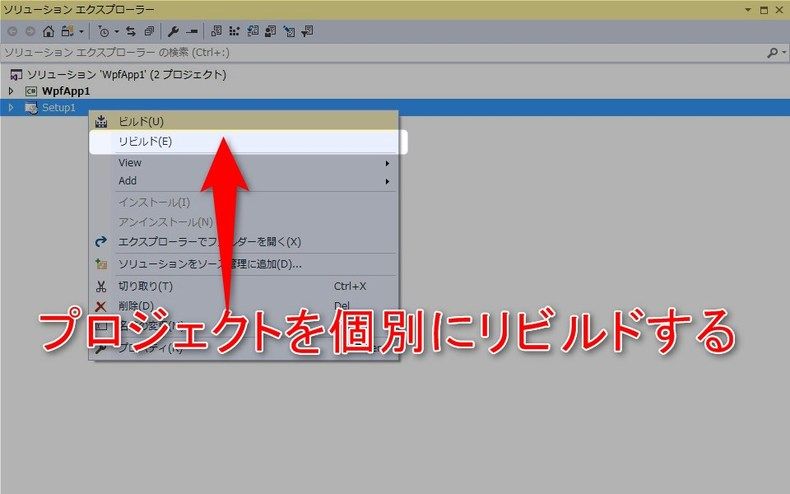
ソリューションエクスプローラからセットアッププロジェクトを右クリックしリビルドします。
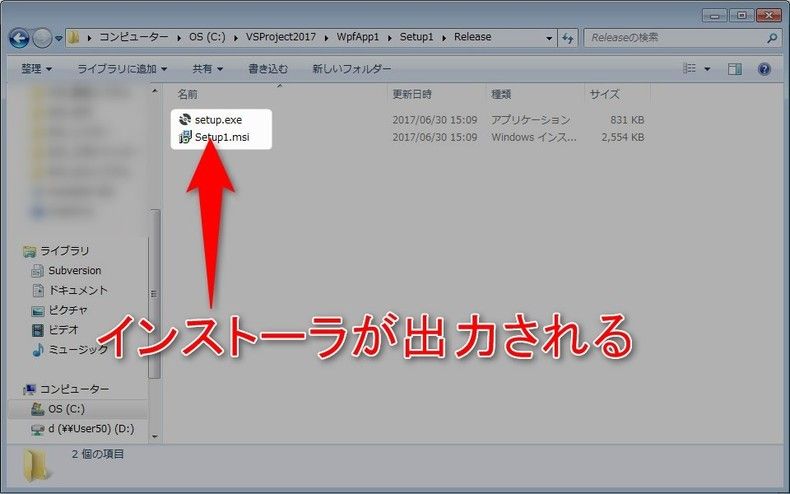
無事にビルドが完了すると、出力フォルダーにインストーラが出力されます。
インストールしてみる
作成したインストーラを実行します。
セットアップウィザードが起動されるので「次へ」ボタンをクリックします。
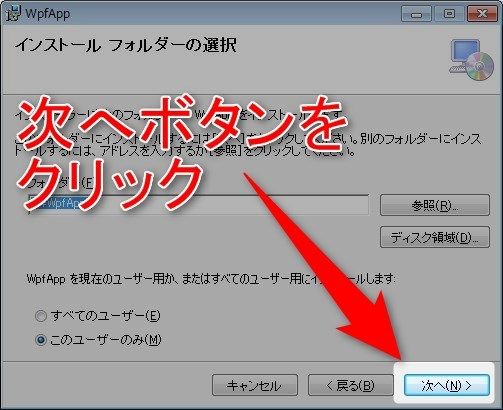
インストール先を指定して「次へ」ボタンをクリックします。
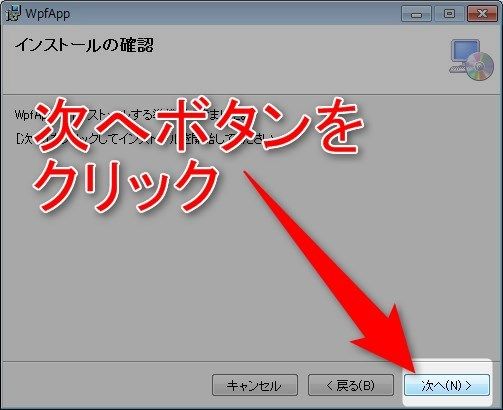
インストールの確認画面が表示されるので、「次へ」ボタンをクリックします。
インストール完了画面が表示されるので「閉じる」ボタンをクリックします。
起動
スタートメニューにアプリケーションが追加されるので、そこから起動してみます。
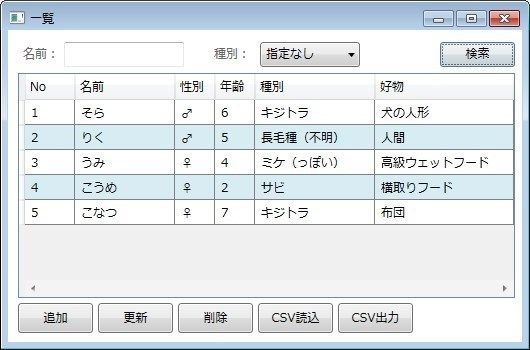
無事に起動されました。
今回はここまでです。
ではでは。