【Python】Pythonの統合開発環境「PyCharm」のインストールからHello Worldまで
おはようございます。
昨日に引き続き Python の話し。
今回はPaythonの開発をするための統合開発環境で有名なPyCharmをインストールして、Hello World を出力してみたいと思います。
スポンサーリンク
ダウンロード
下記のページを開きます。
https://www.jetbrains.com/pycharm/
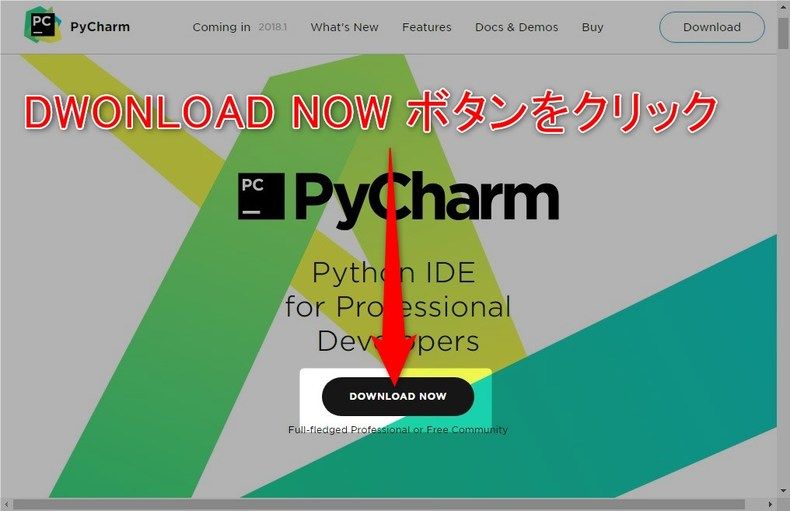
「DWONLOAD NOW」ボタンをクリックします。
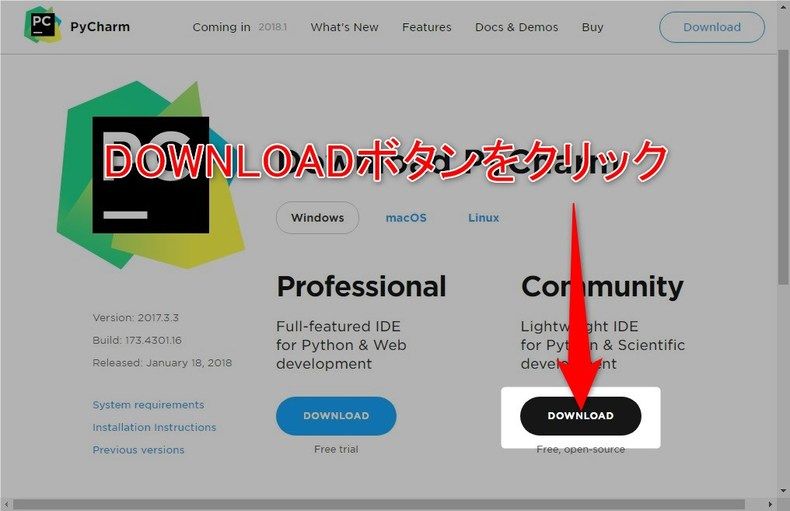
対象選択ページが表示されるので、Windows の Community をダウンロードします。
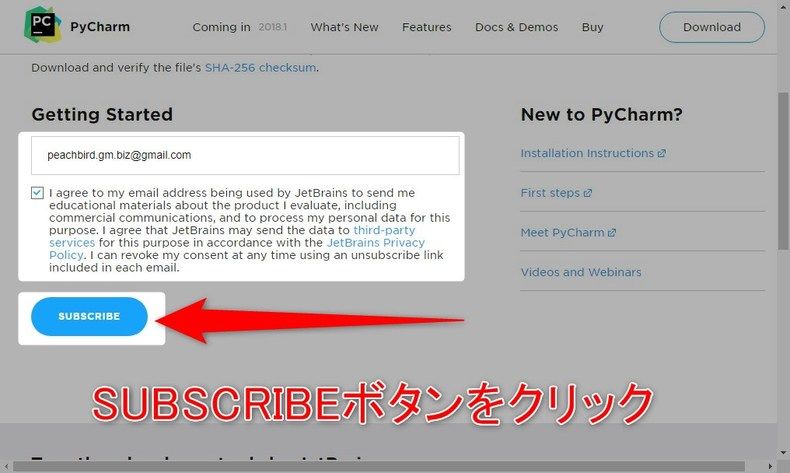
メールアドレスを入力して「SUBSCRIBE」ボタンをクリックします。
インストール
ダウンロードした「pycharm-community-2017.3.3.exe」を実行します。
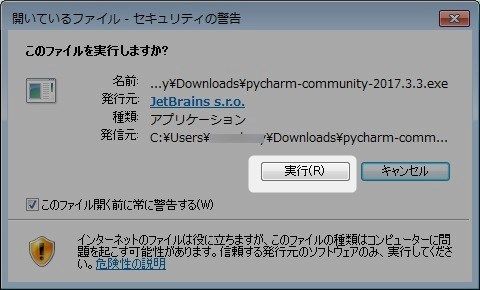
セキュリティの警告画面が表示される場合は「実行」ボタンをクリックします。
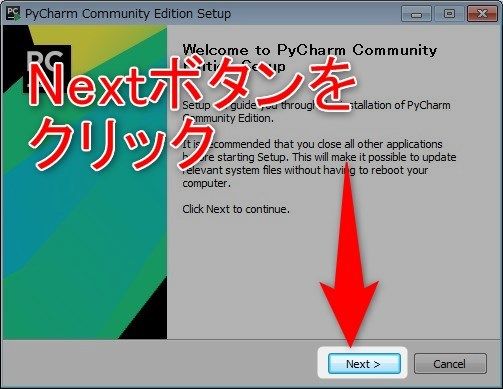
セットアップウィザードが表示されるので「Next」ボタンをクリックします。
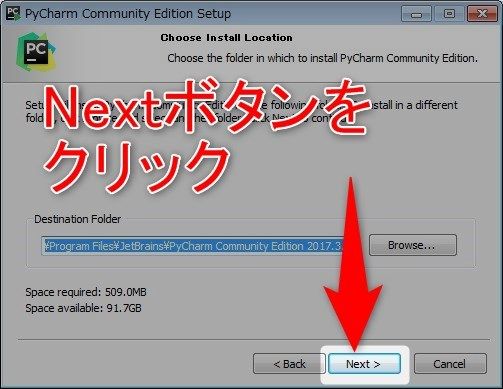
インストール先の指定画面が表示されるので、特に指定が無ければそのまま「Next」ボタンをクリックします。
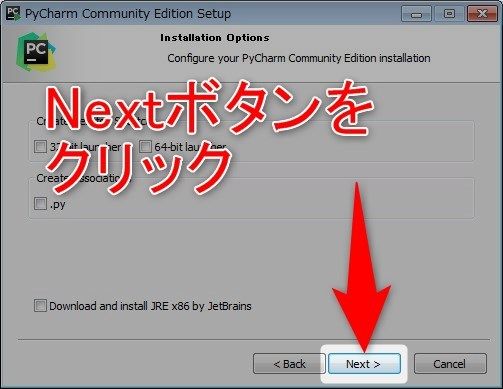
インストールオプション画面が表示されるので、CreateAssociation の「.py」にチェックして「Next」ボタンをクリックします。(こうするとファイルが関連付けされます。)
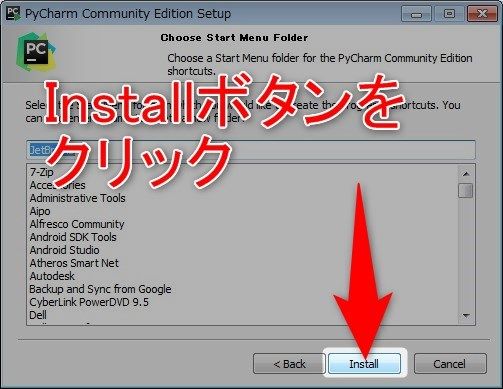
スタートメニュー選択画面が表示されるので、そのまま「Install」ボタンをクリックします。
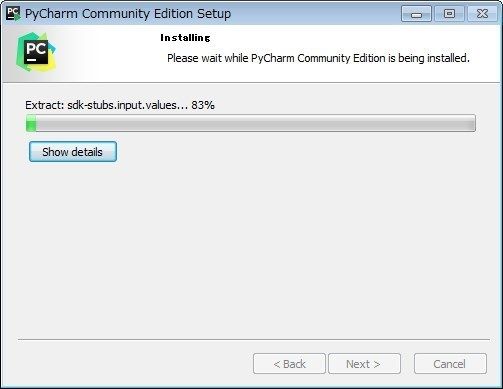
インストール中。しばらくお待ちください。
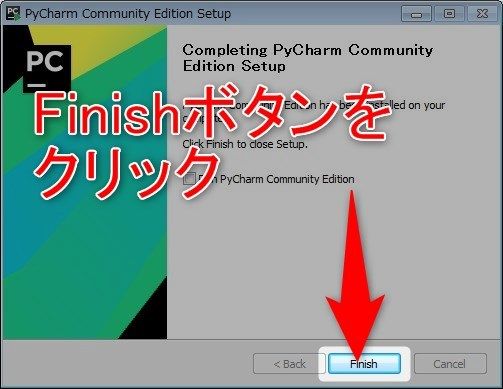
完了画面が表示されるので、「Finish」ボタンをクリックします。
起動
スタートメニューから「JetBrains」>「JetBrains PyCharm Community Edtion2017.3.3」を選択します。(細かいバージョンは環境に合わせて読み替えてください)
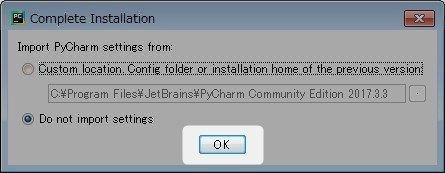
設定ファイルのインポートダイアログが表示されるので、
「Do not import settings」にチェックして「OK」ボタンをクリックします。
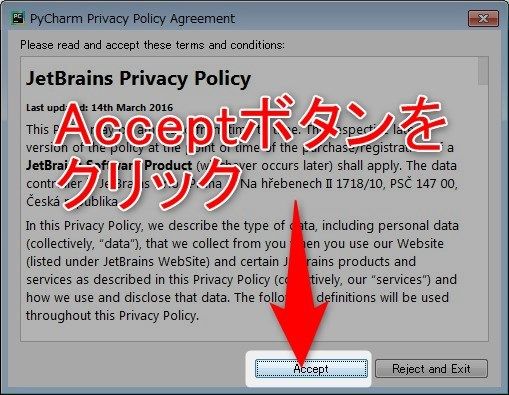
プライバシーポリシー同意画面が表示されるので、「Accept」ボタンをクリックします。
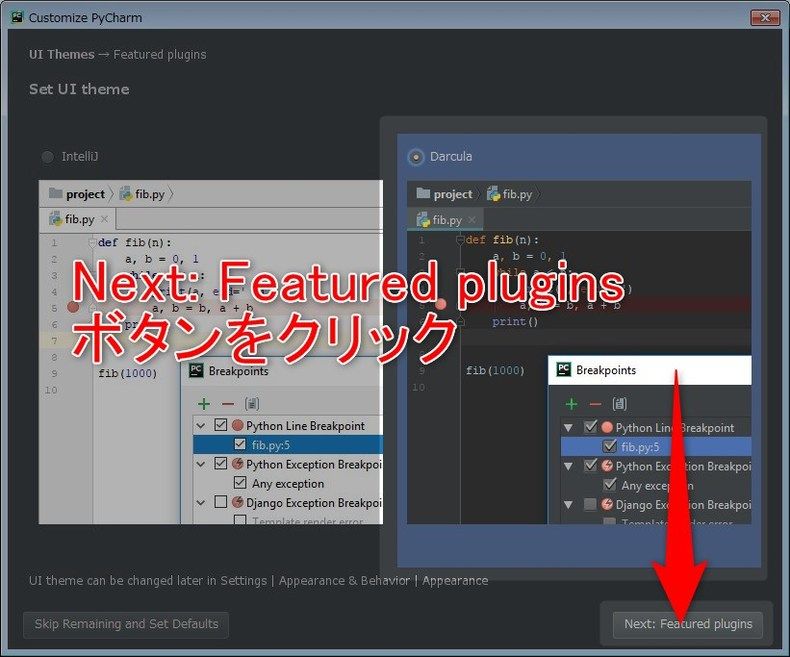
UIのカスタマイズ画面が表示されるので、お好みのデザインを選択して「Next: Featured plugins」ボタンをクリックします。
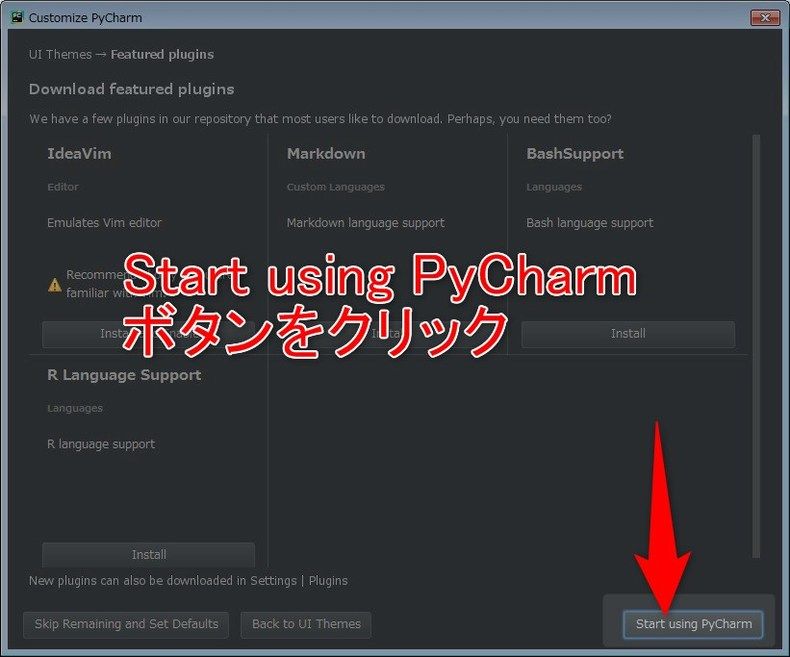
プラグインのインストール画面が表示されますが、ひとまずそのまま「Start using PyCharm」ボタンをクリックします。
プロジェクトの作成
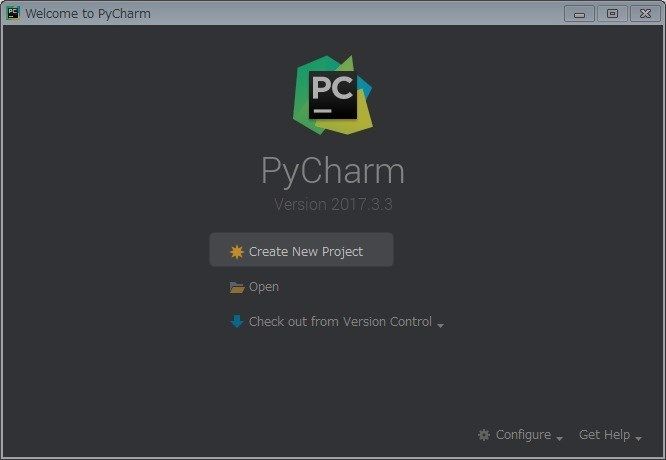
起動画面が表示されるので「Create New Project」を選択します。
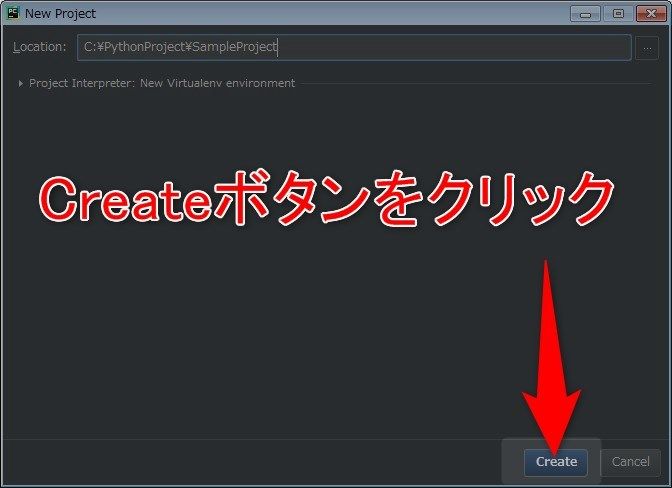
プロジェクト名を入力して「Create」ボタンをクリックします。
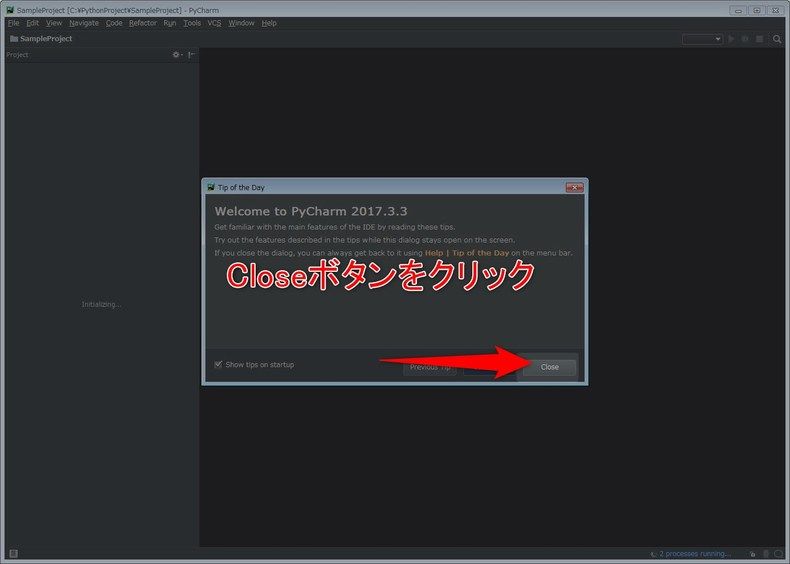
ヒントダイアログが表示されるので「Close」ボタンをクリックします。
起動時に表示したくなければ「Show tips on startup」のチェックを外してください。
ファイルの追加
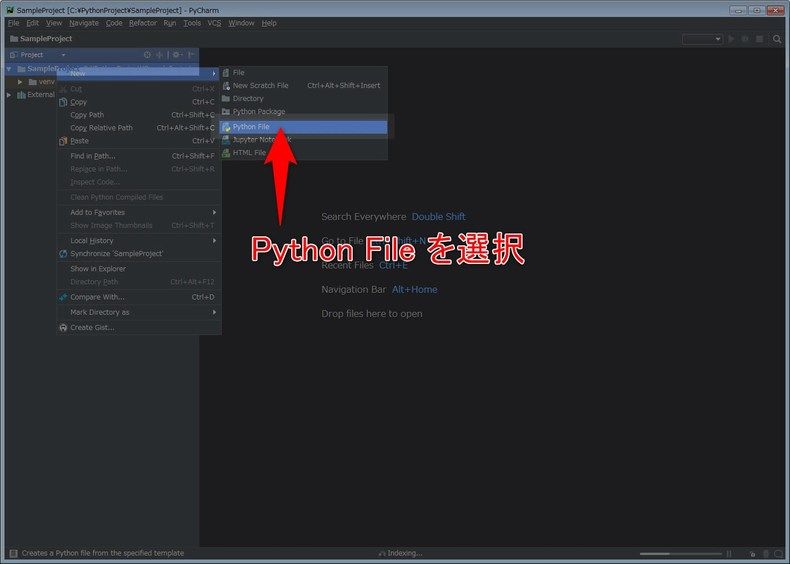
プロジェクト名を右クリックし、「New」>「Python File」を選択します。
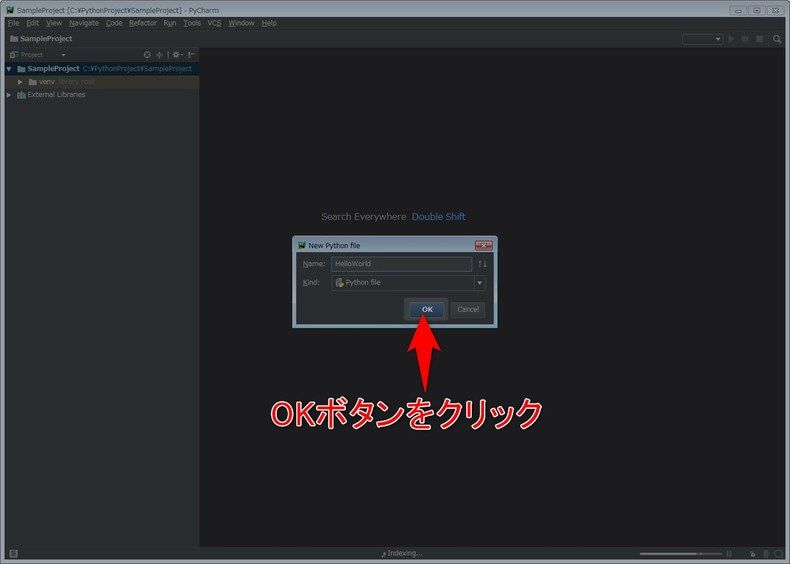
ファイル名を入力して「OK」ボタンをクリックします。
コードの記述
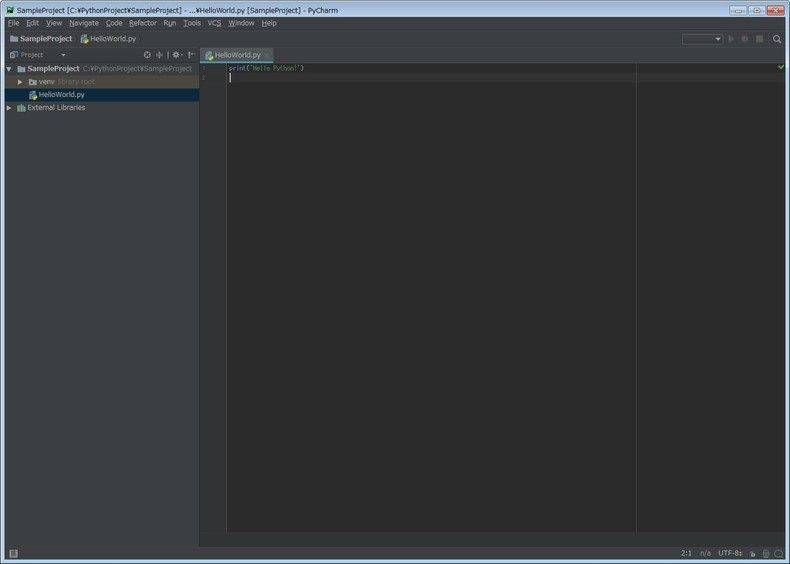
次のコードを記述します。
print(‘Hello Python!’)
実行してみる
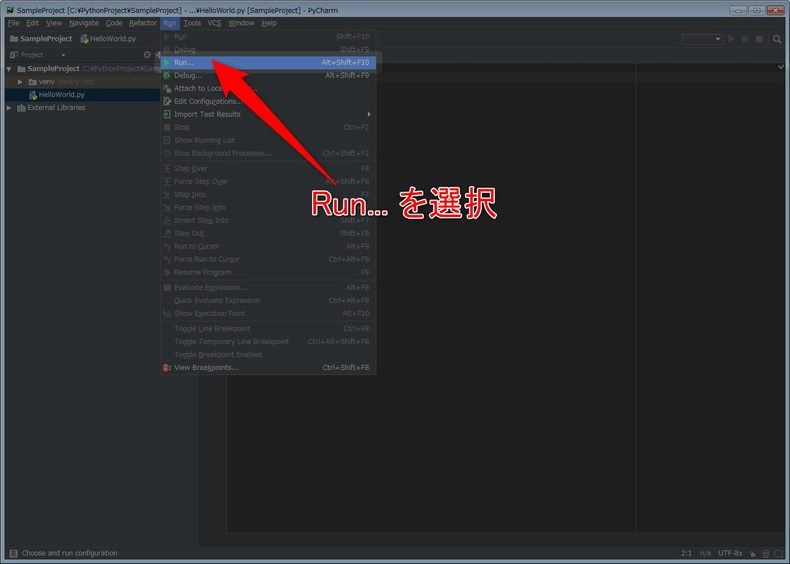
上部メニューの「Run」>「Run」を選択します。
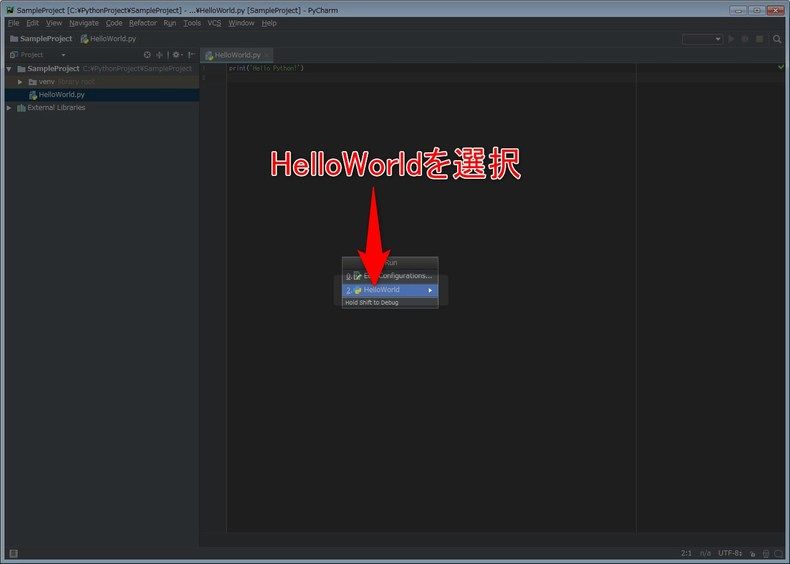
実行対象選択のダイアログが表示されるので「HelloWorld」を選択します。
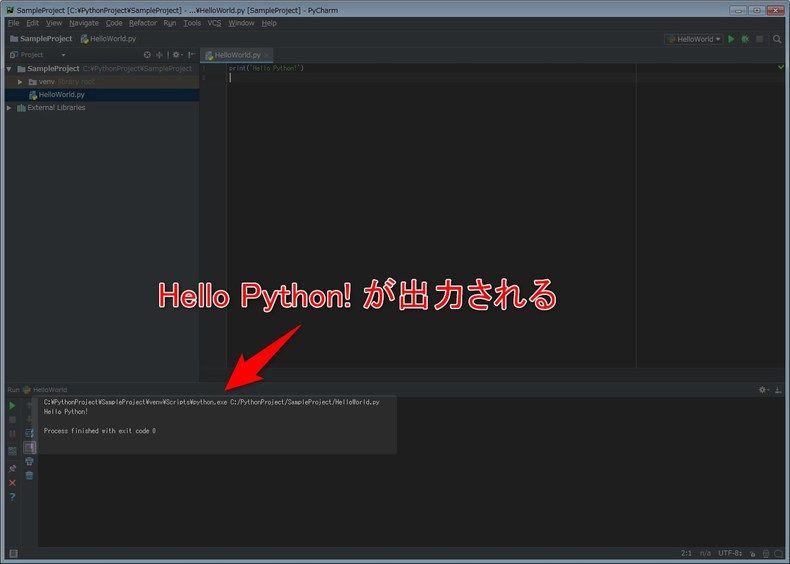
下部にコンソールが表示され、「Hello Python!」 が表示されればOKです。
まとめ
とりあえず開発環境を構築するところまで。
次回以降は実際にプログラミングをしていきたいと思います。
ではでは。